
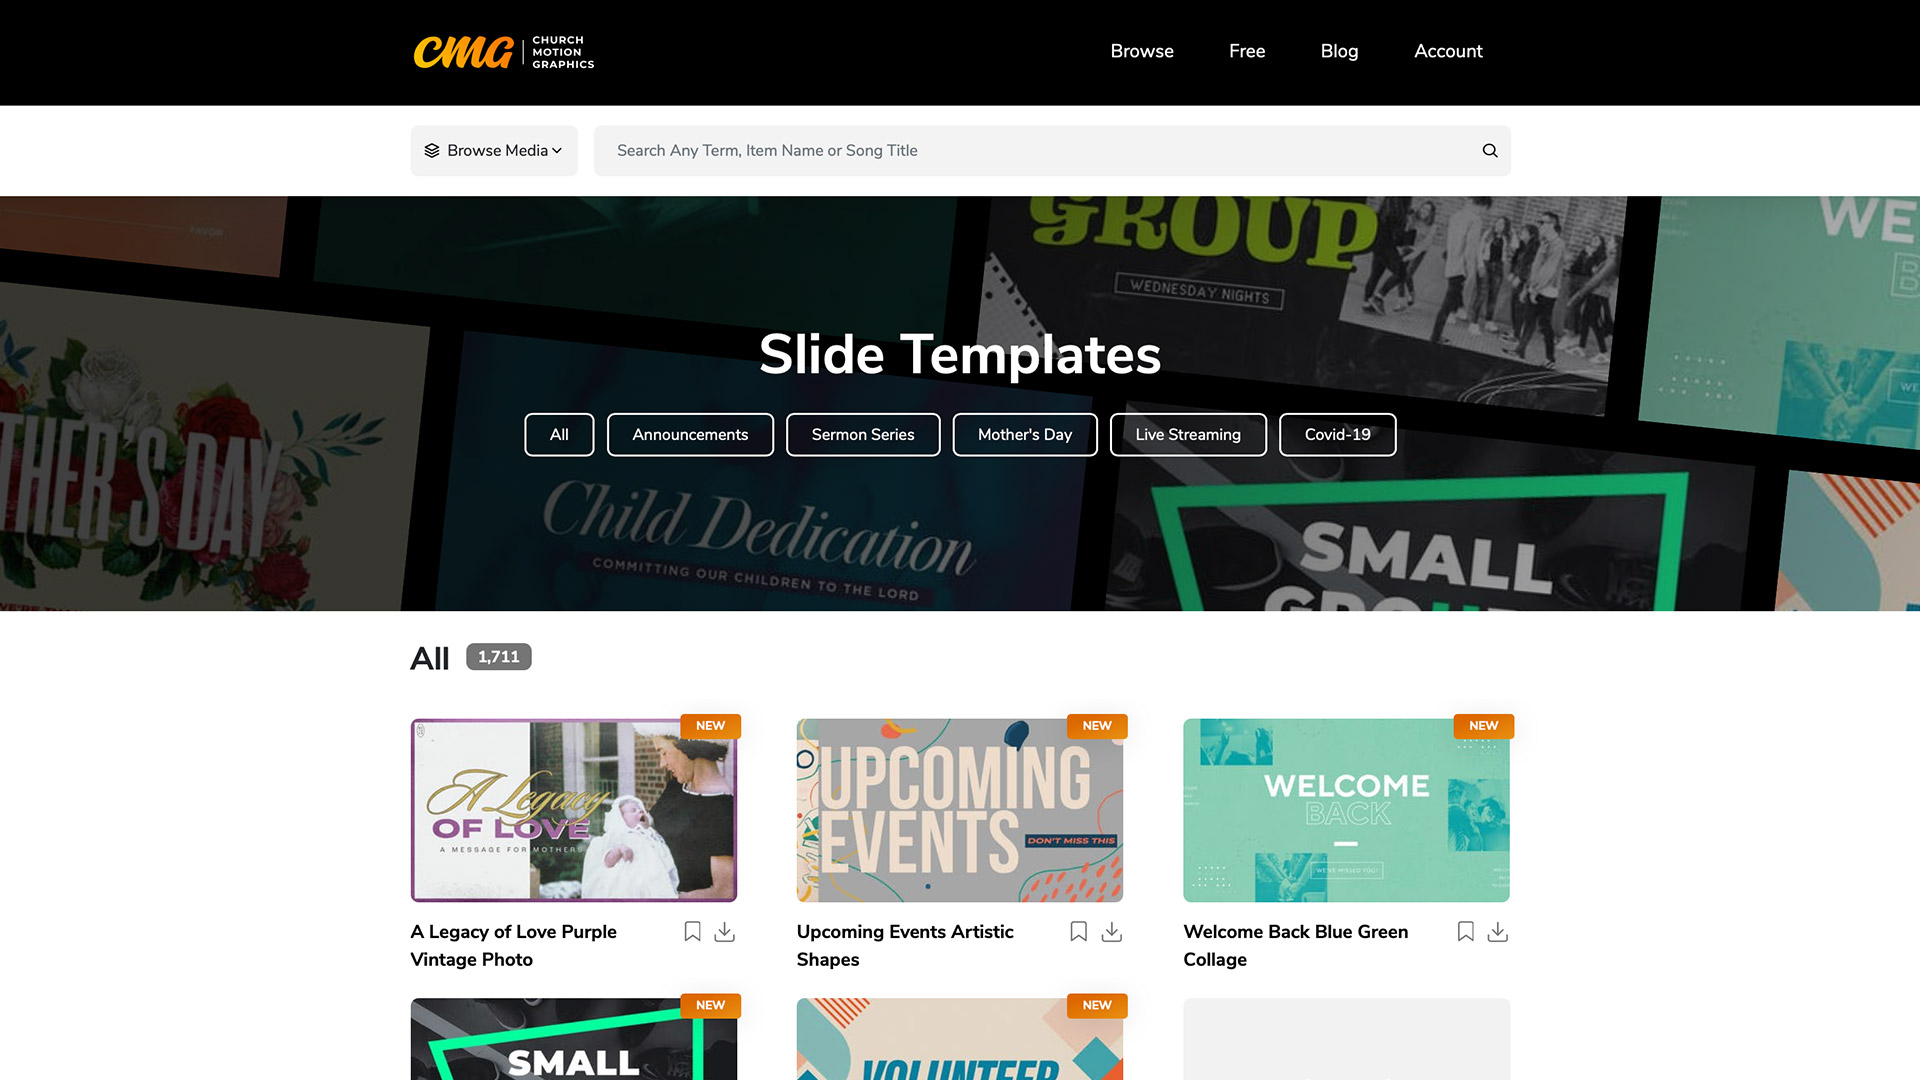
The CMG Media Browser is filled with thousands of stunning visuals for every area of your ministry, many of which are completely editable. You may be wondering how to figure out which fonts (typefaces) were used in a particular graphic. In this post, we’ll be sharing how you find the precise font that was used in a slide template, social graphic, or lower third. Options for using either Adobe Photoshop (paid) or Photopea (free) will be covered.
Using Adobe Photoshop ($)
If you have access to the paid software, Adobe Photoshop, follow these instructions:
1. First, it’s important to note that you will need access to our slide templates, social graphics, and lower thirds to begin this process. These are available with select CMG Subscriptions or through single purchase.
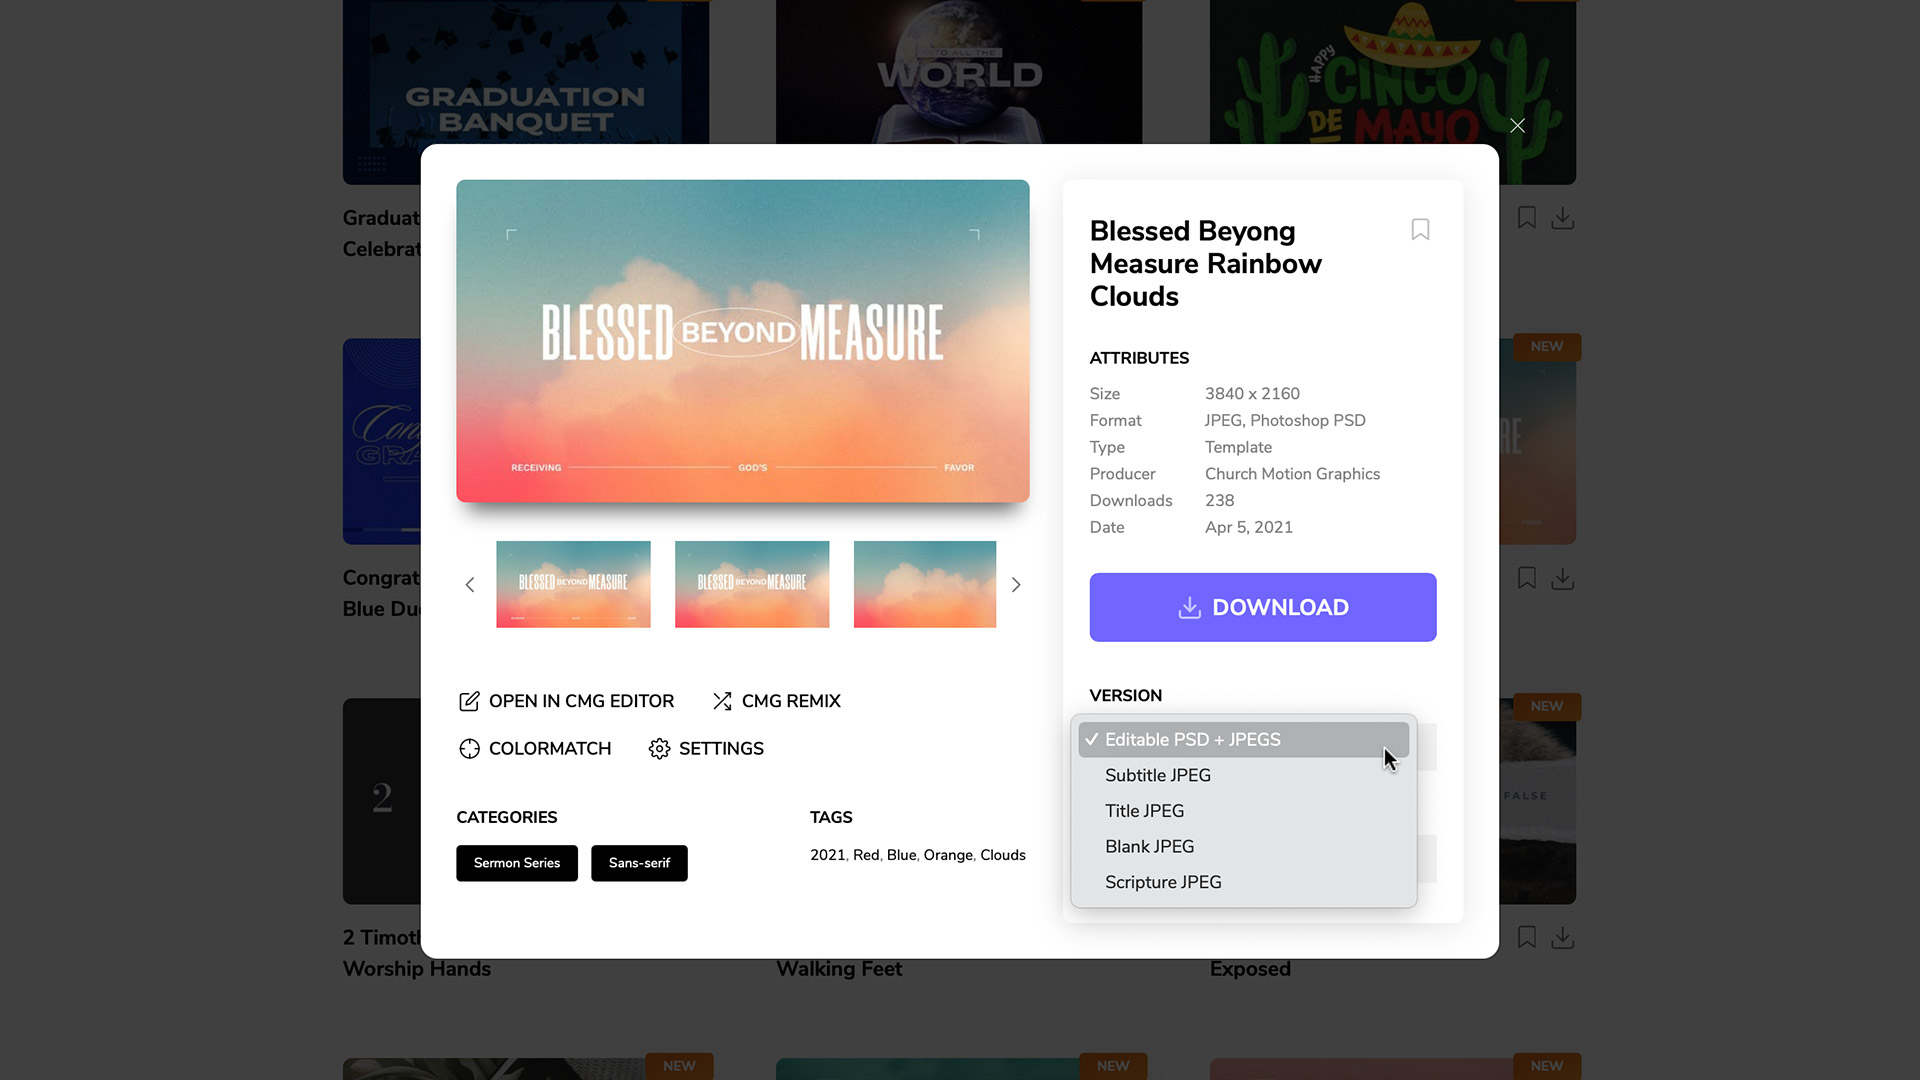
2. From the CMG Media Browser, select the slide template, social graphic, or lower third of your choice. All of these have editable text and an included layer identifying the font that was used.
 3. From the version section of the window, choose the option with the Editable PSD file. Then, press the large download button.
 4. Once your download is complete, it may come packaged as a ZIP file. If so, this will need to be unzipped using the software of your choosing depending on your OS.
5. You will see now see a PSD file that’s designed to work in Adobe Photoshop. Double click to open this PSD in Photoshop.
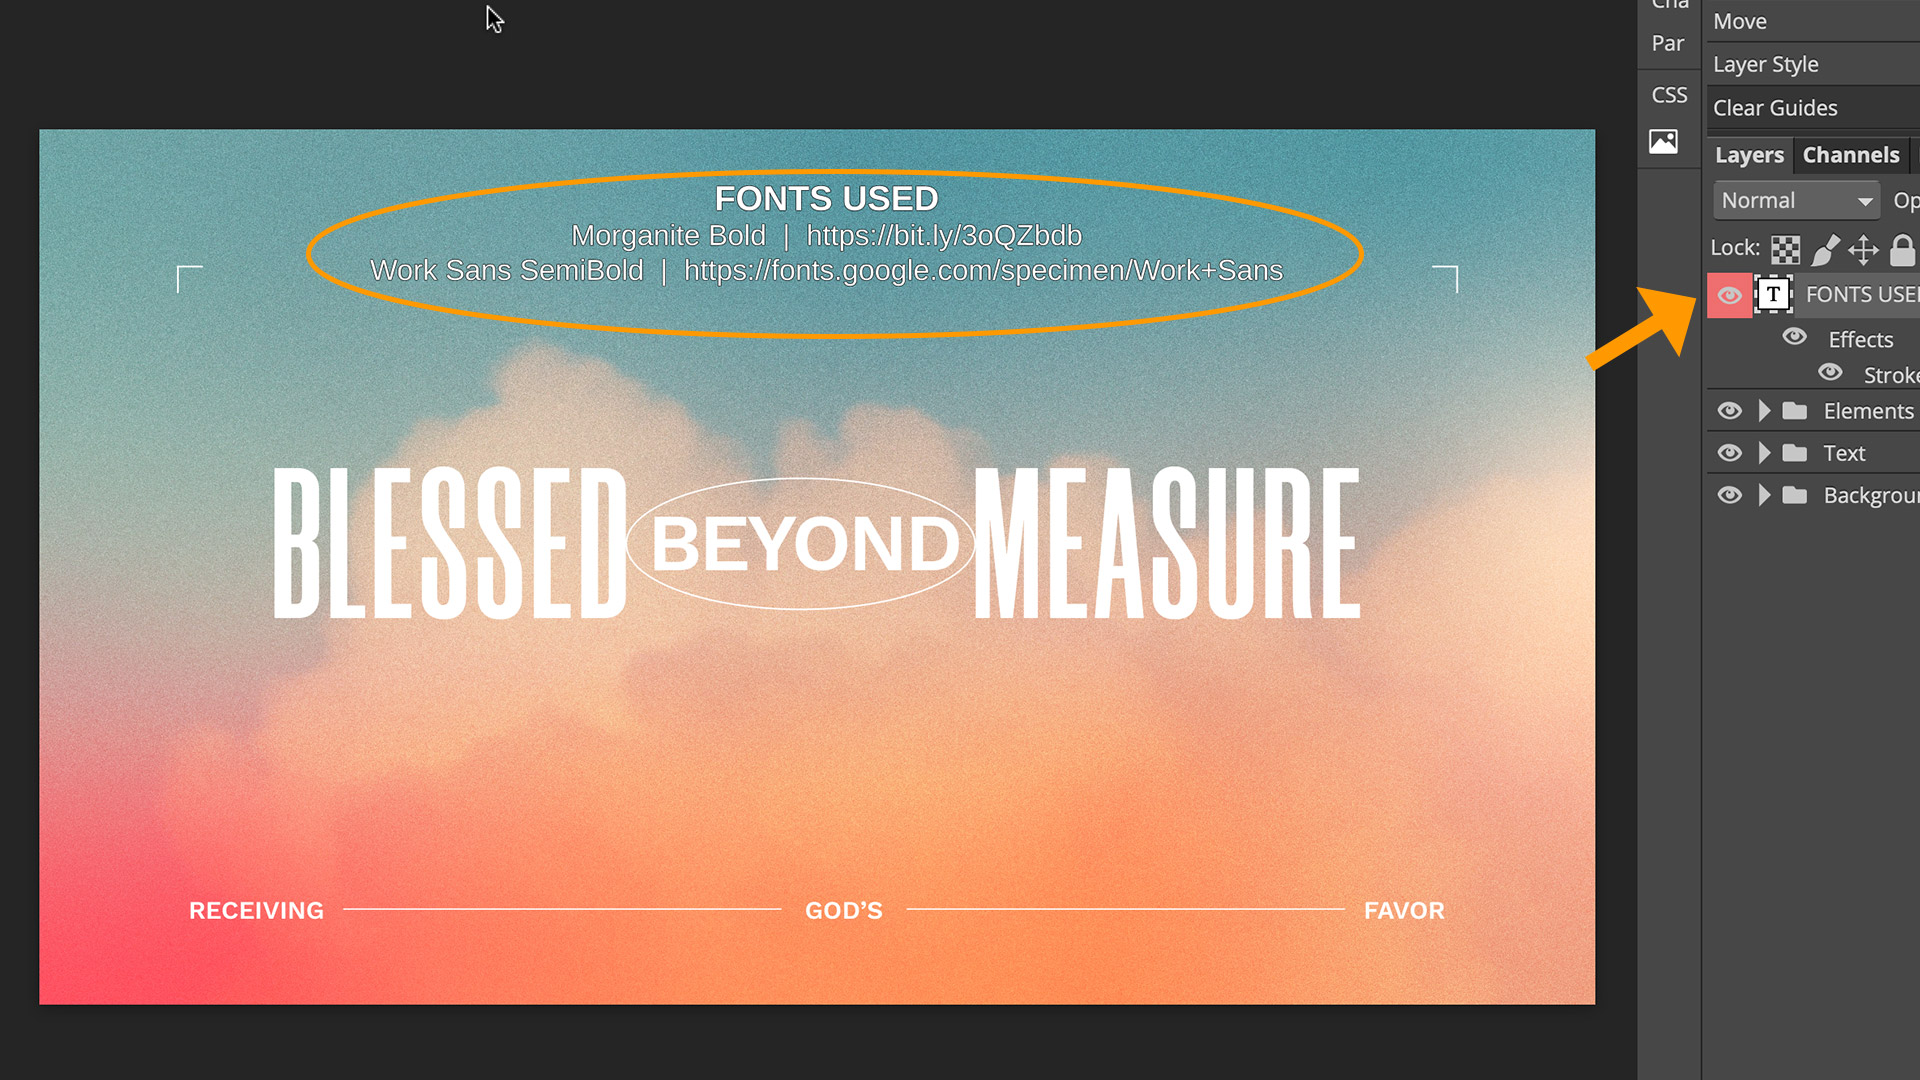
6. Once the file is open, look to your Layers panel (most likely in the bottom right corner of Photoshop). There, you will see a layer labeled “Fonts Used” that is currently turned off.
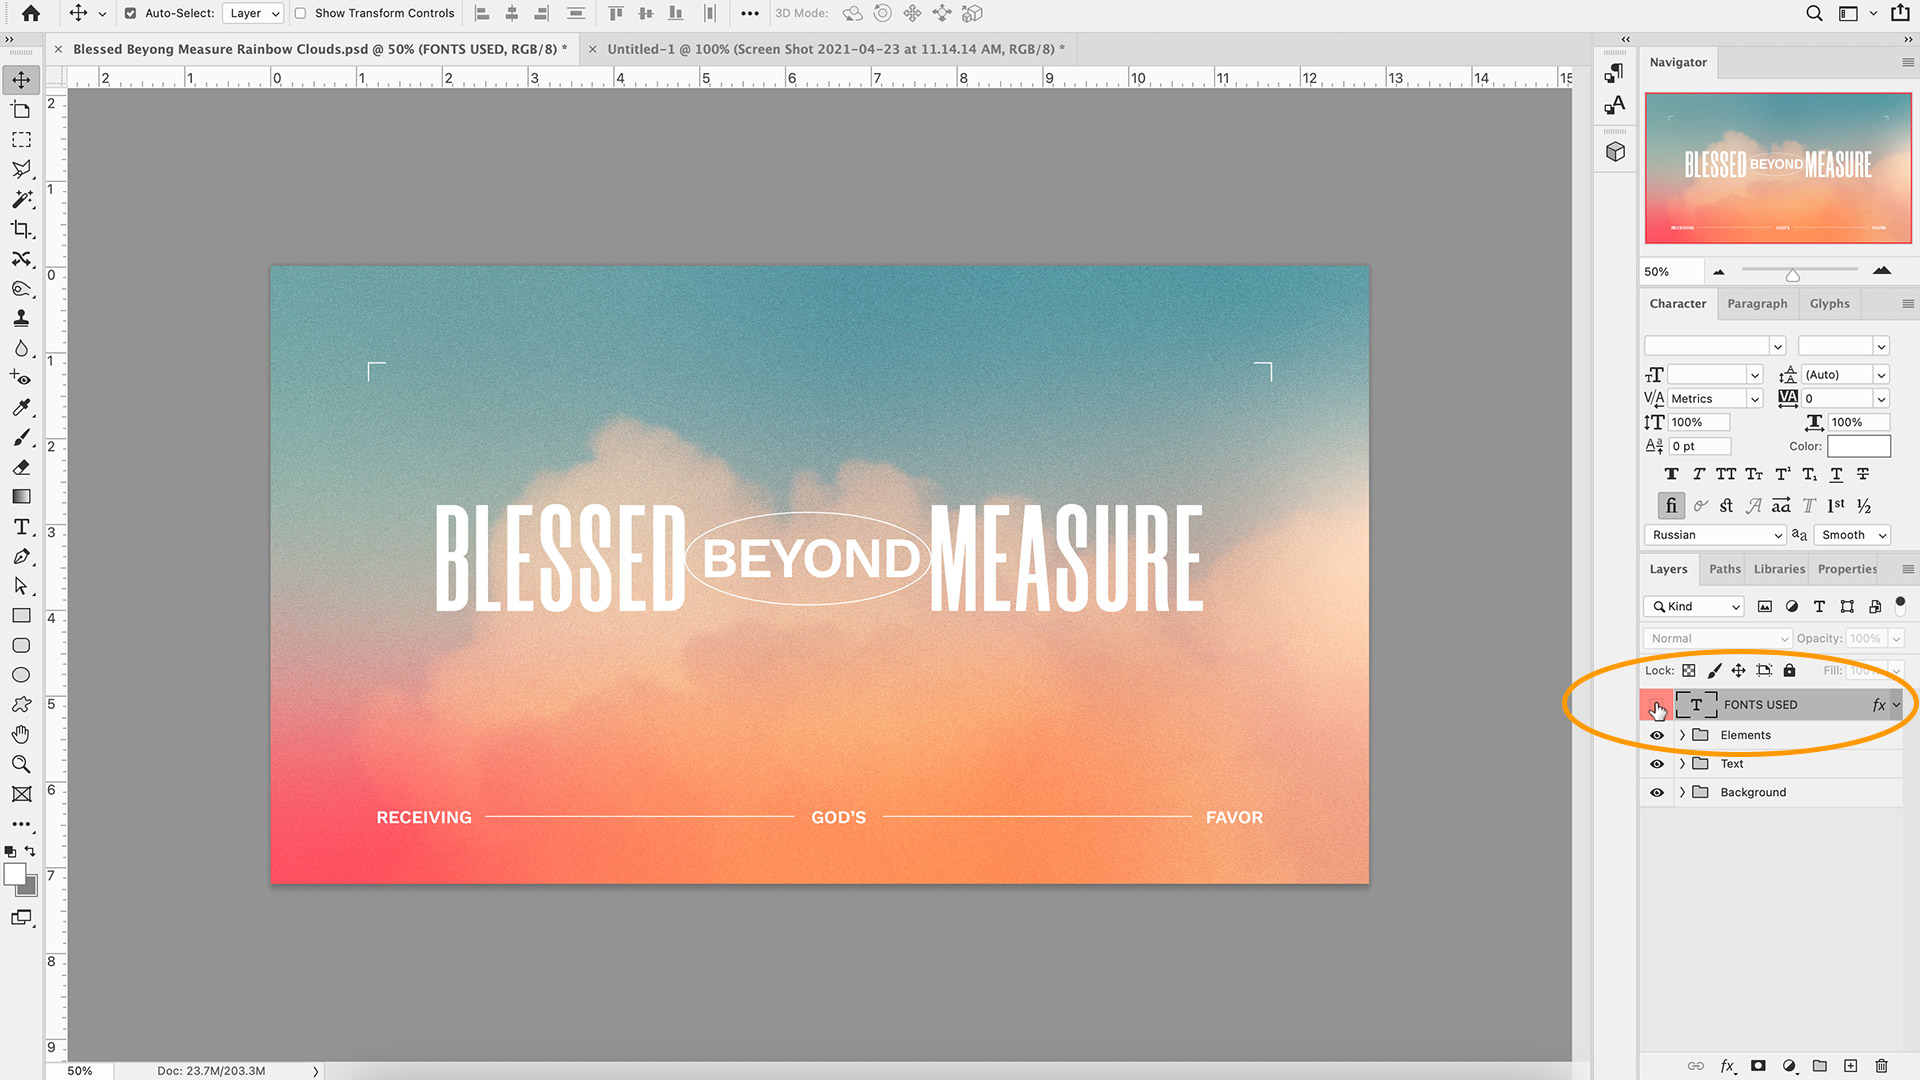 7. Click the small grey box on the left side of this layer to toggle the visibility of this hidden layer. An eye icon will appear, as well as a text box at the top of the graphic.
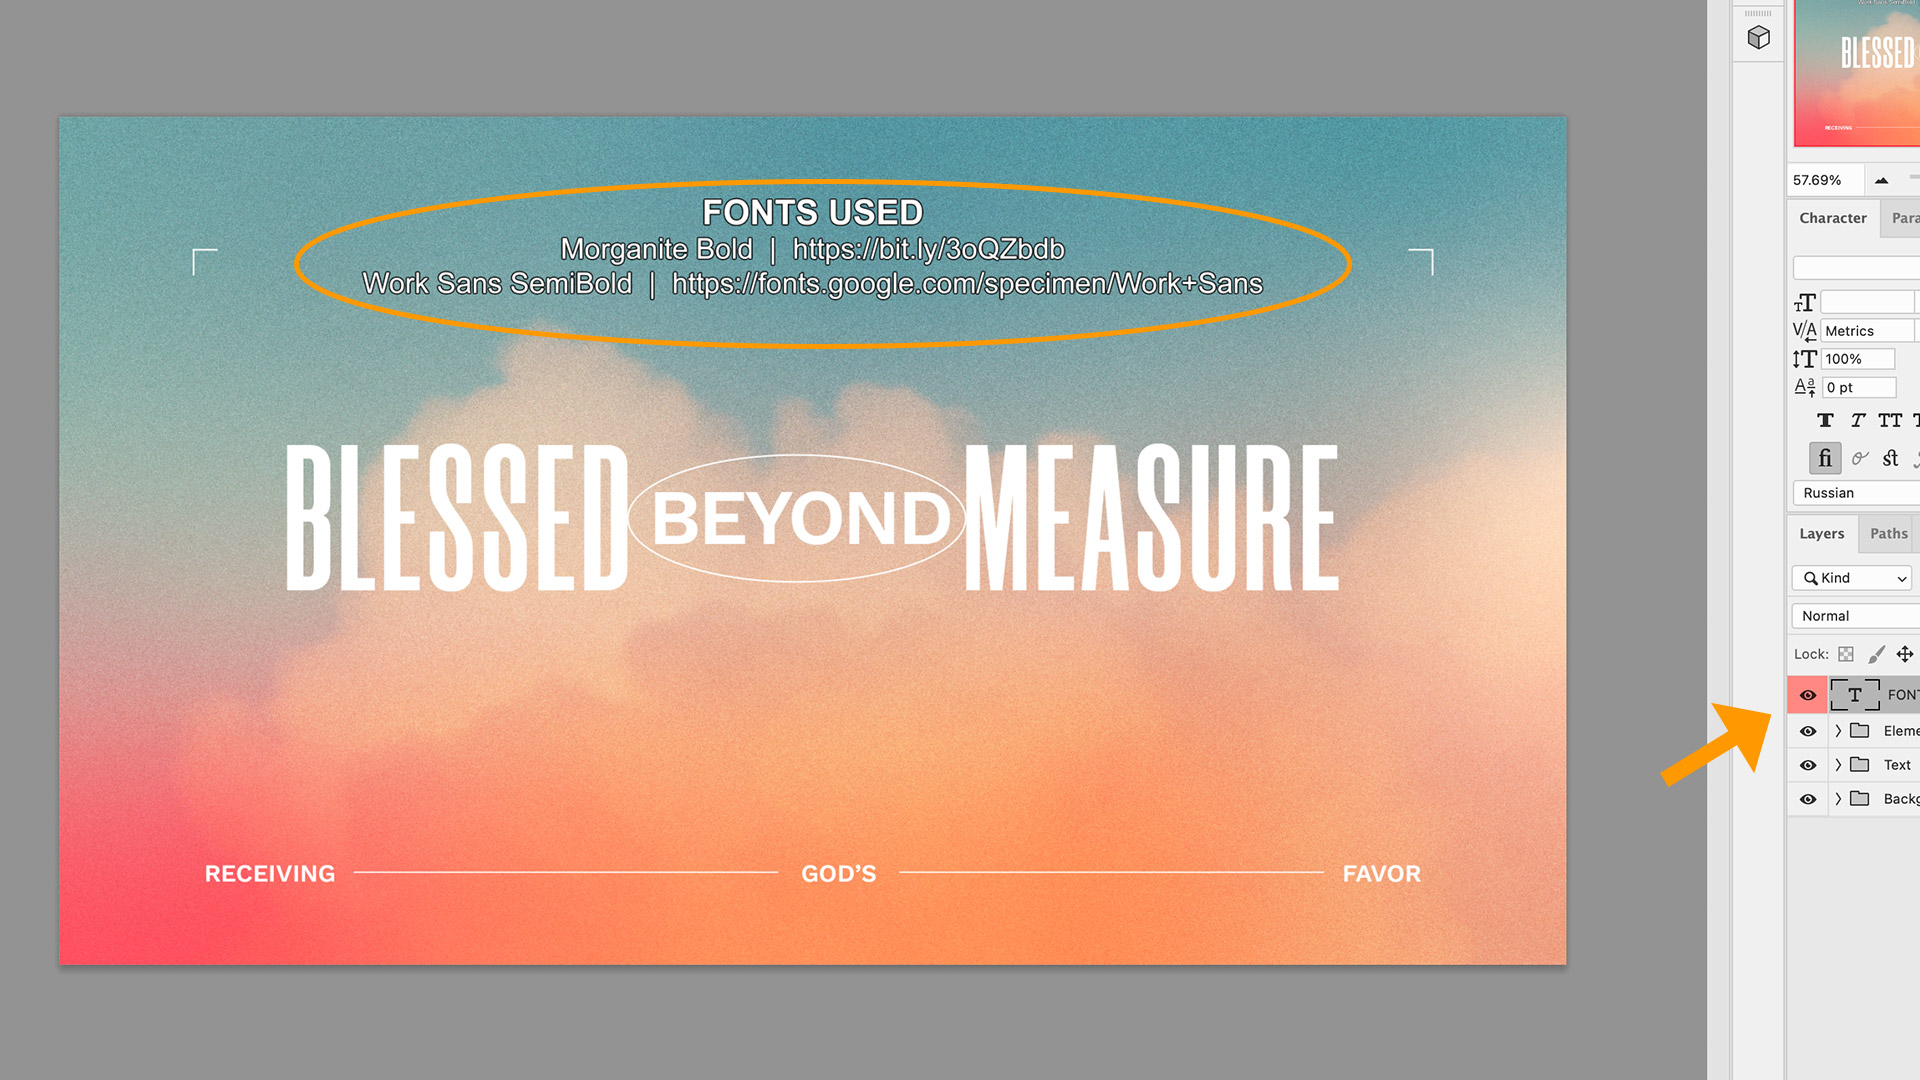 8. This “Fonts Used” layer will now provide both the name of the font that was used in this graphic, as well as a URL so that you can easily find it online for download.
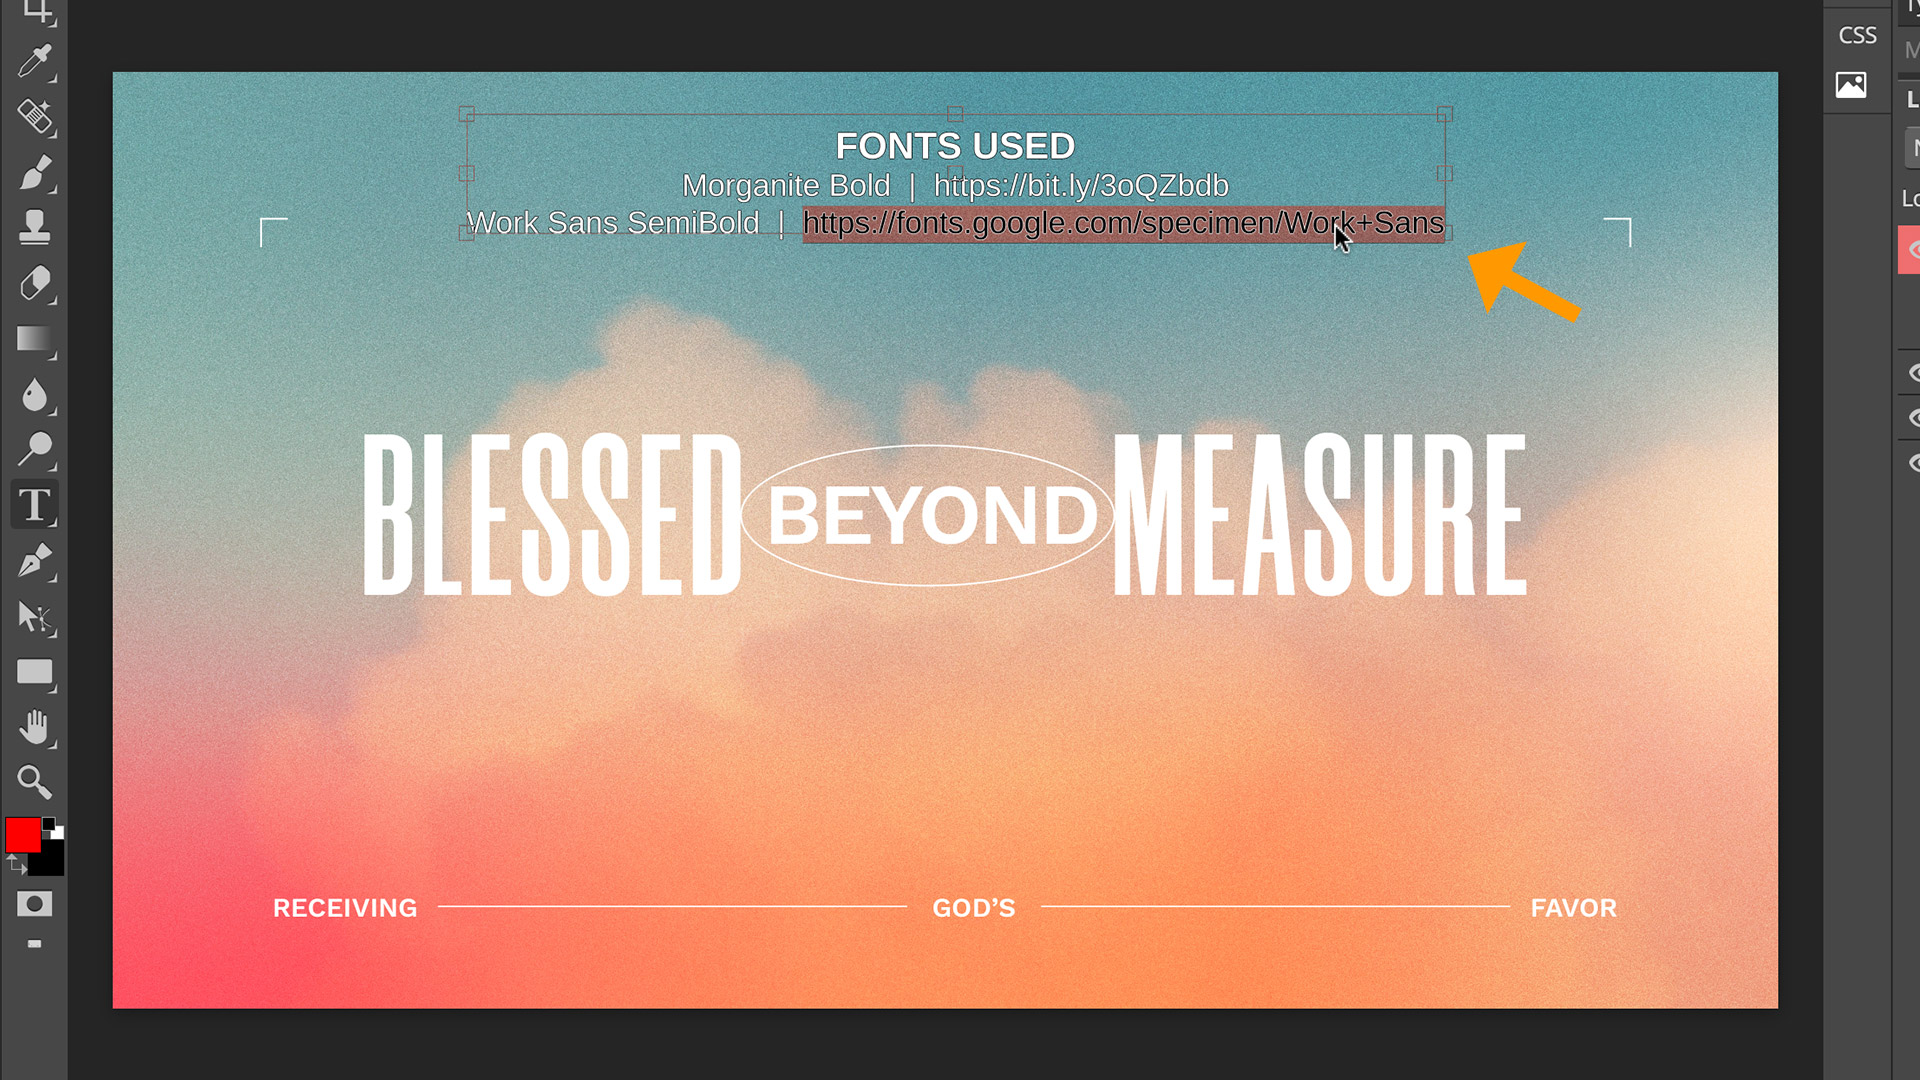
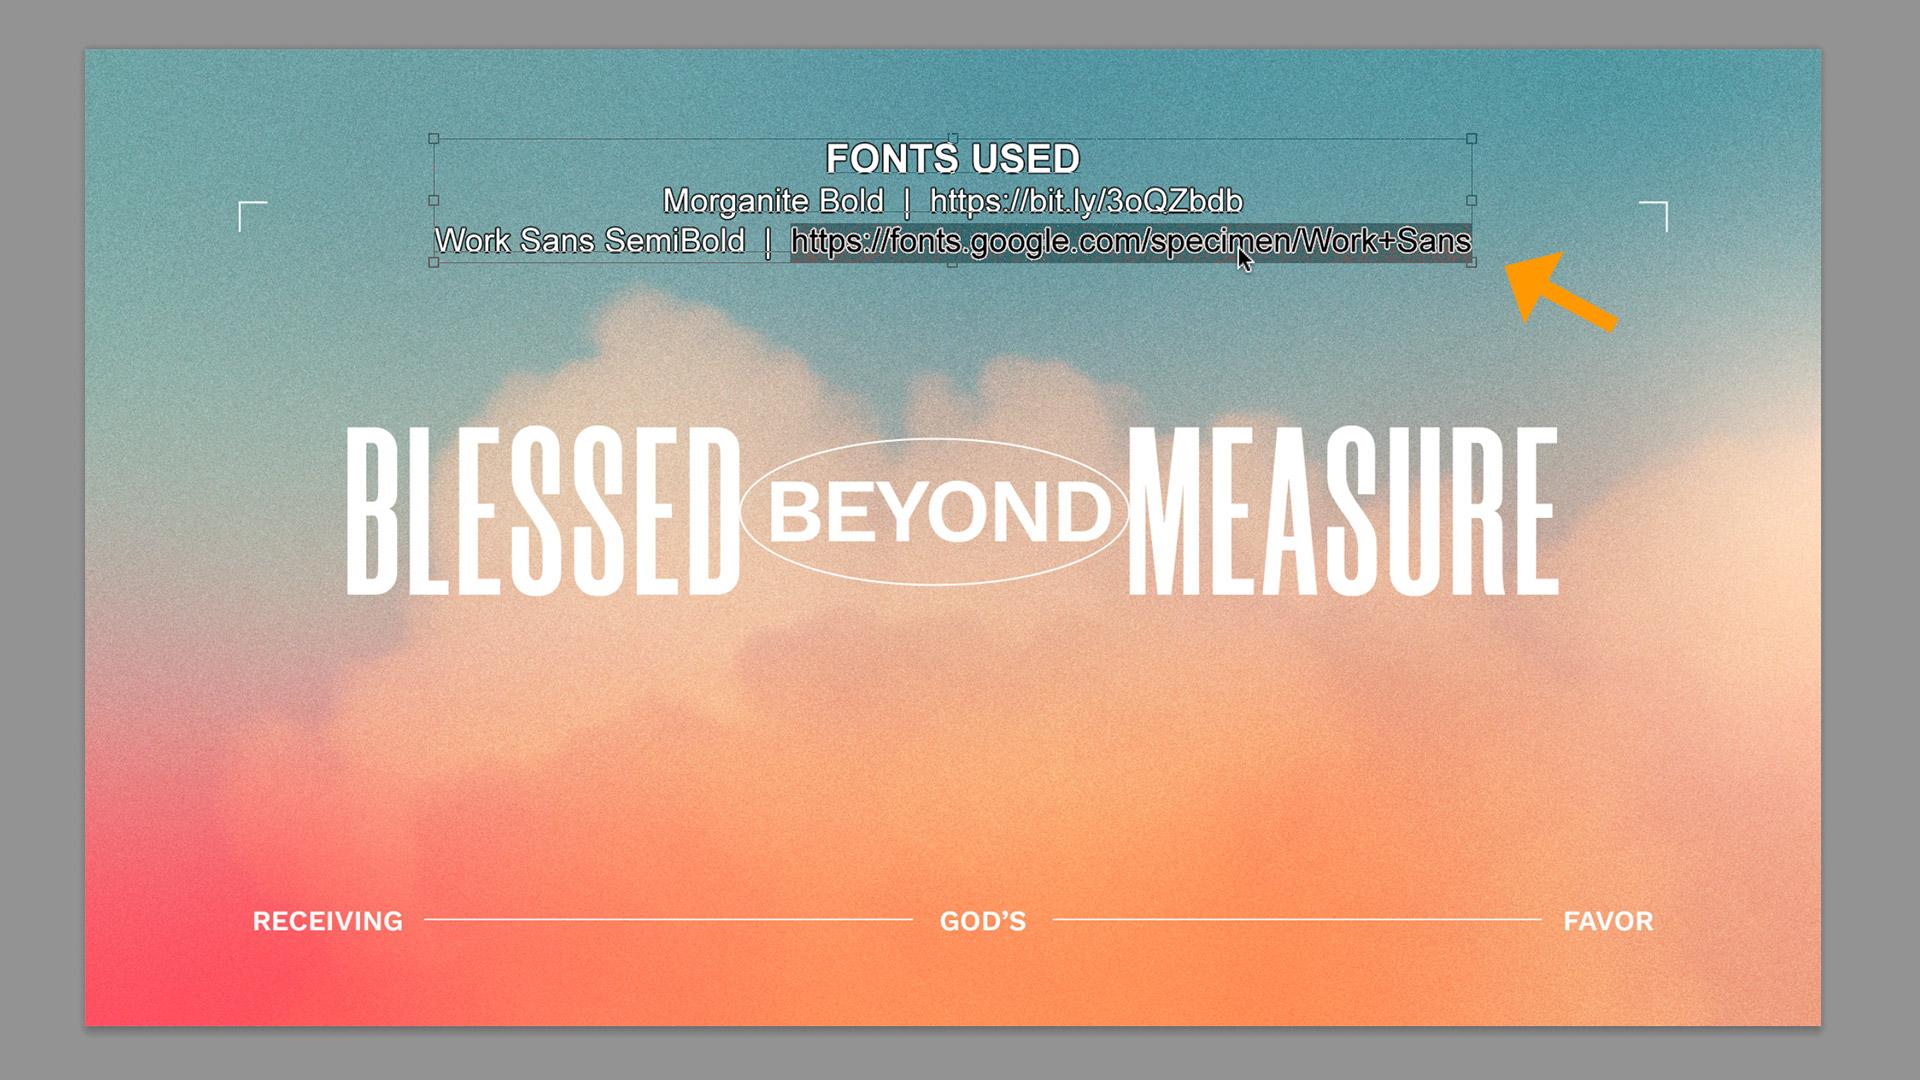 9. The text that is shown in this “Fonts Used” layer is editable, so you can double-click to select the URLs. You can then copy and paste these directly into your internet browser.
Using Photopea Online Photo Editor (Free)
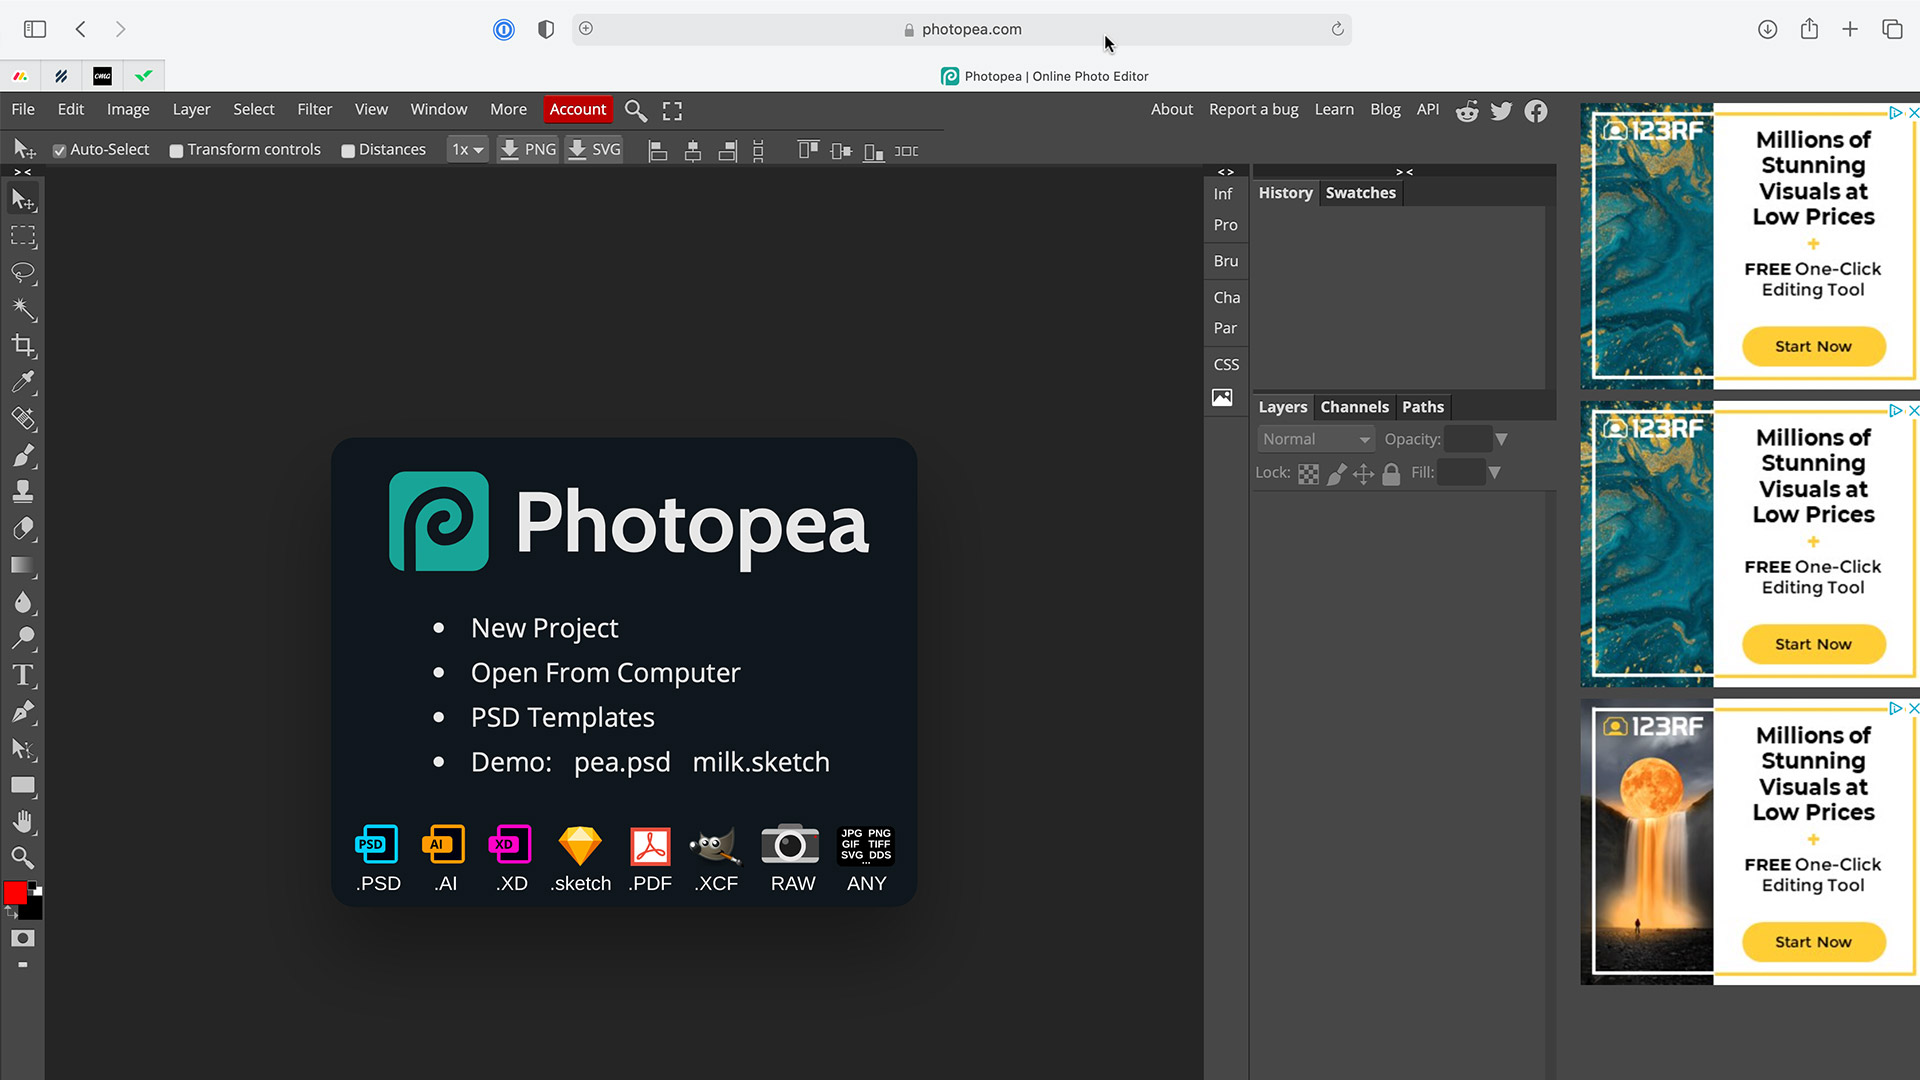
Photopea is a free online photo editor that will not cost anything to use for this task.
1. First, it’s important to note that you will need access to our slide templates, social graphics, and lower thirds to begin this process. These are available with select CMG Subscriptions or through single purchase.
2. From the CMG Media Browser, select the slide template, social graphic, or lower third of your choice. All of these have editable text and an included layer identifying the font that was used.
3. From the version section of the window, choose the option with the Editable PSD file. Then, press the large download button.
4. Once your download is complete, it may come packaged as a ZIP file. If so, this will need to be unzipped using the software of your choosing depending on your OS.
5. You will see now see a PSD file that’s designed to work in Adobe Photoshop, but can also be opened in the free online photo editor, Photopea.
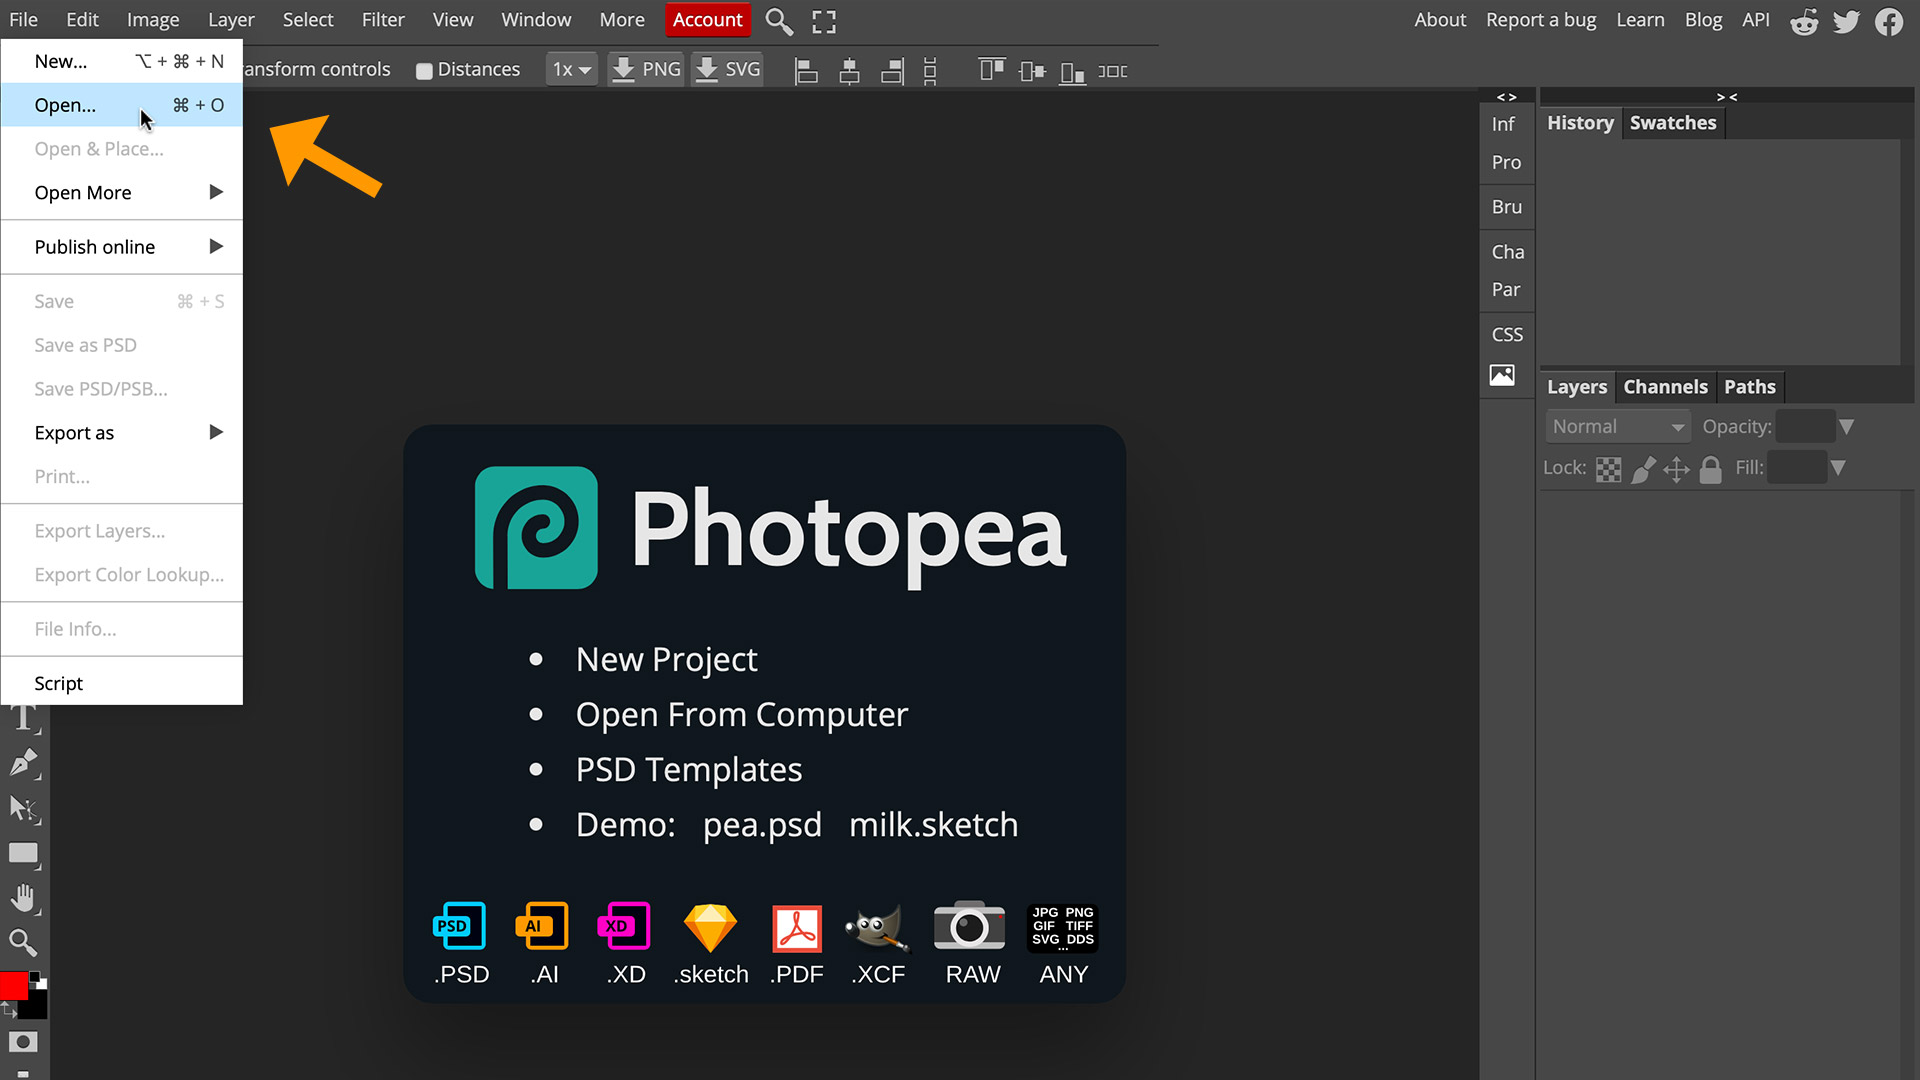
 6. Navigate to Photopea.com in your internet browser. In the top right corner, click File. Then, choose Open. A window will pop up allowing you to locate and choose the PSD file that you just downloaded. Select this PSD and click Choose For Upload.
 7. Once the file is open, look to your Layers panel in the bottom right corner of your screen. There, you will see a layer labeled “Fonts Used” that is currently turned off.
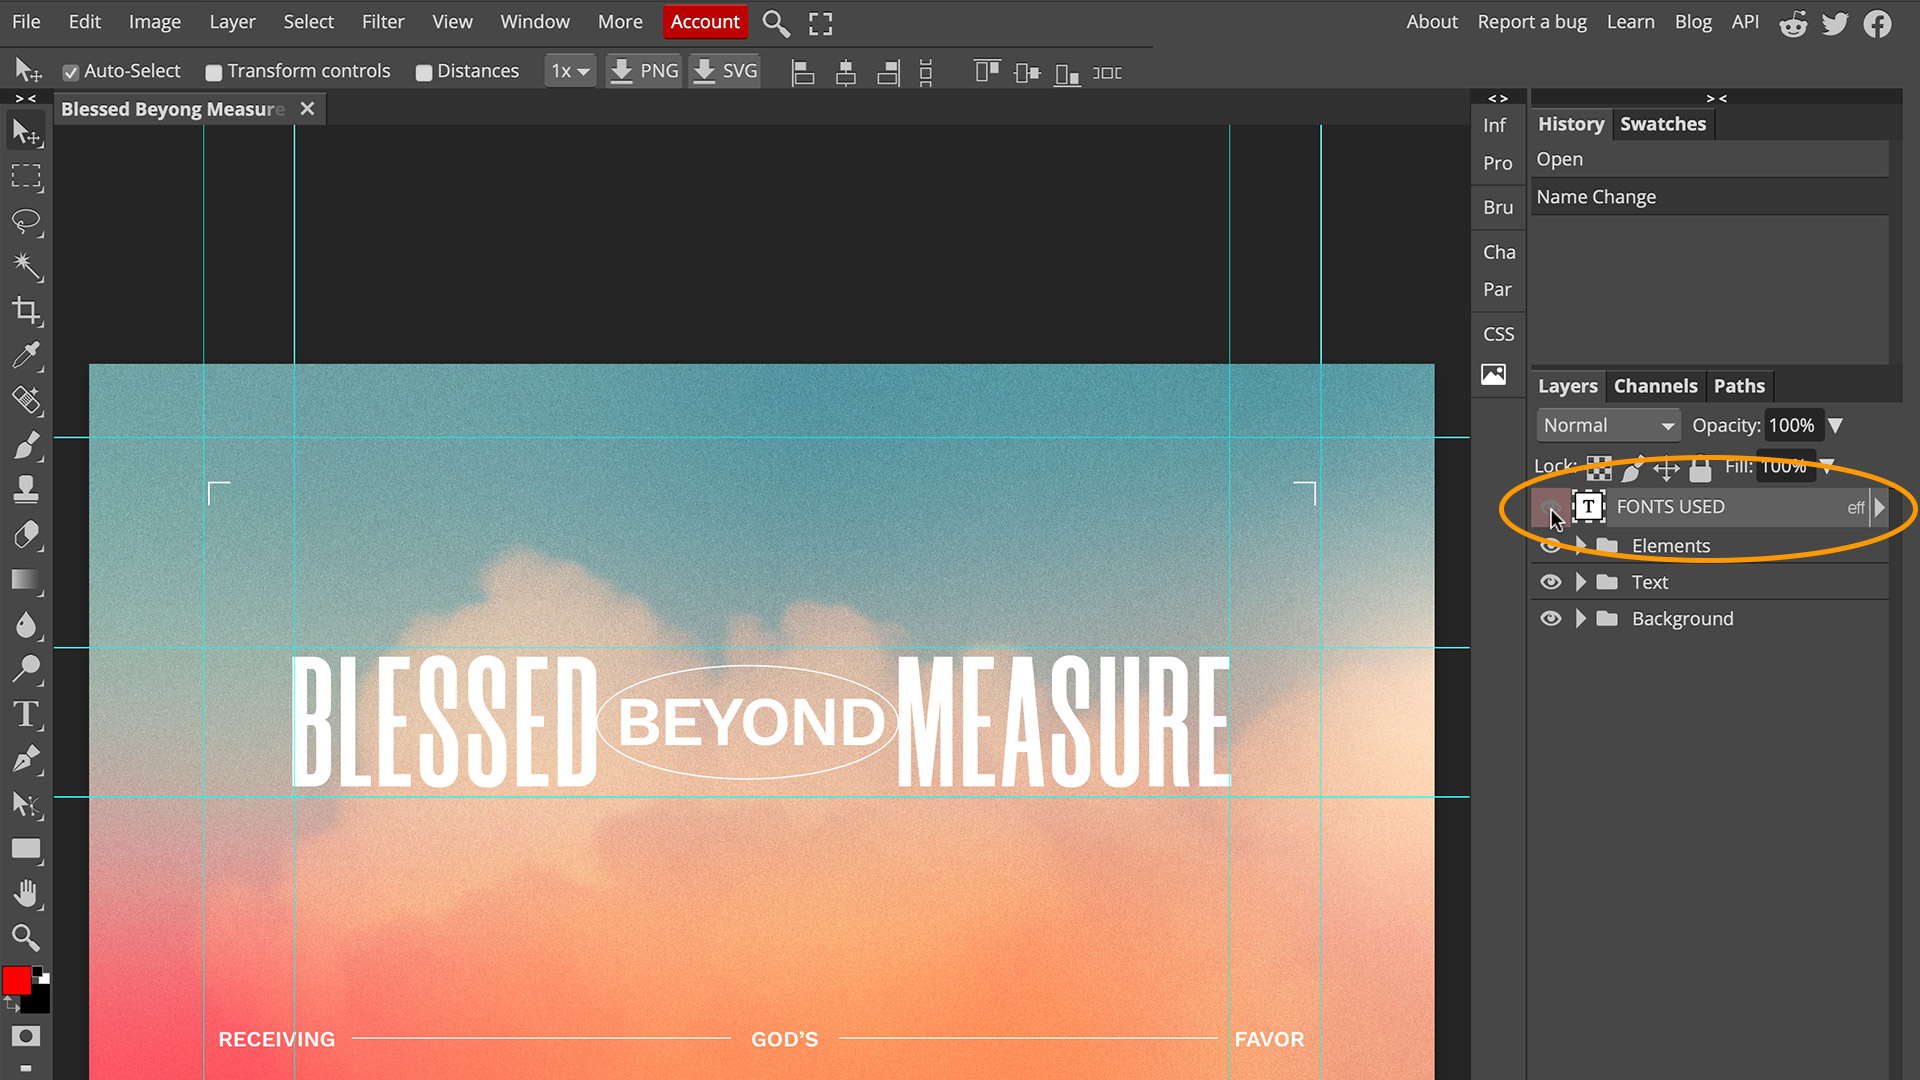 8. Click the greyed out eye icon on the left side of this layer to toggle the visibility of this hidden layer. An eye icon will appear, as well as a text box at the top of the graphic.
 9. This “Fonts Used” layer will now provide both the name of the font that was used in this graphic, as well as a URL so that you can easily find it online for download.
 10. The text that is shown in this “Fonts Used” layer is editable, so you can double-click to select the URLs. You can then copy and paste these directly into your internet browser.