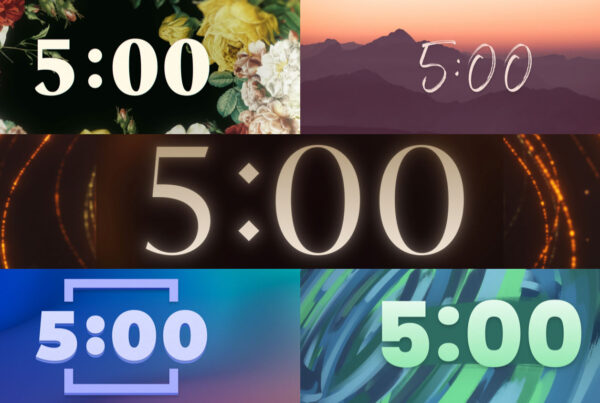
Lower thirds are an essential component of modern worship presentations, providing context and information to your audience without obstructing the main visuals. In EasyWorship, adding lower thirds is simple and straightforward. In this step-by-step guide, we’ll walk you through the process of incorporating lower thirds into your EasyWorship presentations for a professional and polished look.
Step 1: Prepare your lower third graphics
First, gather or create the lower third graphics you want to use in your presentation. Church Motion Graphics offers a wide range of high-quality lower third designs to enhance your worship experience. Download the desired lower third files and save them in a folder for easy access.
Step 2: Import the lower third files into EasyWorship
To import your lower third files into EasyWorship, follow these steps:
- Open EasyWorship.
- Click on the “Media” tab.
- Select “Images” from the dropdown menu.
- Click the “+” button to import your lower third files.
- Browse to the folder where your lower third files are saved and select them.
- Click “Open” to import the files into EasyWorship.
Step 3: Create a new theme with the lower third graphic
Now that your lower third graphics are imported, create a new theme to apply them to your presentation:
- Click on the “Themes” tab in EasyWorship.
- Click the “+” button to create a new theme.
- Name your new theme (e.g., “Lower Thirds Theme”).
- Click the “Foreground” tab.
- Click the “Image” button and select the lower third graphic you imported.
- Position and resize the lower third graphic as desired, ensuring it doesn’t obstruct the main content.
Step 4: Customize your text formatting
To customize your text formatting within the lower third, follow these steps:
- Click the “Text Properties” button in the theme editor.
- Adjust the font, size, and color of the text to ensure it’s easily readable against the lower third background.
- Add a text outline or shadow for increased readability, if necessary.
Step 5: Apply the lower third theme to your presentation
Now that your lower third theme is ready, apply it to your presentation:
- Click the “Presentations” tab in EasyWorship.
- Select the presentation to which you want to apply the lower third theme.
- Right-click on the presentation and choose “Apply Theme.”
- Select your lower third theme from the list of available themes.
Step 6: Preview and adjust as needed
Preview your presentation to ensure the lower thirds appear as intended. Make any necessary adjustments to the positioning or text formatting for optimal readability and visual appeal.
Make it look great
Adding lower thirds to your EasyWorship presentations is a simple yet effective way to enhance your worship experience. By following this step-by-step guide and incorporating high-quality lower third graphics from Church Motion Graphics, you can create professional, engaging presentations that effectively convey information to your congregation.


